Collecting Patches
US Patches
As most collectors know, military personnel can be distinguished by the insignia they wear. For the US forces, most of them wore patches on their sleeves, also called Shoulder Sleeve Insignia (SSI for short). Due to mass production needed for World War Two and different manufacturers like the government, private organisations and local theater manufacturers, there are hundreds if not thousands of different patches, patterns and patch variations. These variations can often be seen in different use of materials, color and sometimes even design. Because of this, collecting patches as with other militaria, can be a minefield. Below is a short explanation of US patches and their features to help out starting patch collectors. We hope you find it helpful!
US Patch Basics
The first US unit insignia came about during the civil war, in which units stitched different colored pieces of fabric to their uniforms for recognition. The first real arm patches were made around World War One, these patches were als often made with wool and pieces of colored fabric.
During the late 1920's and early 1930's the first embroidered style patches were made, which look more similar to the patches during World War Two. These embroidered patches had a wool base with felt most of the time. One of these earlier patches is seen on the left.
During the 1930's, the felt style patches we often see on pre-WWII uniforms were made, often better looking than the earlier felt patches. In the later 1930's these felt patches were still made and often in combination with the embroidered style, that's why you sometimes see embroidered patches with a felt backing.
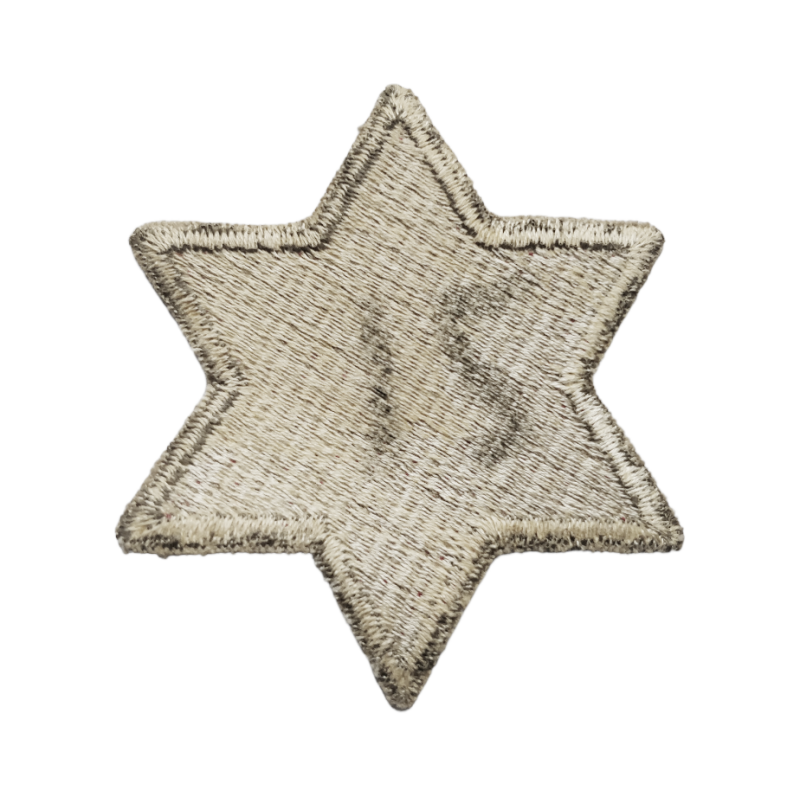
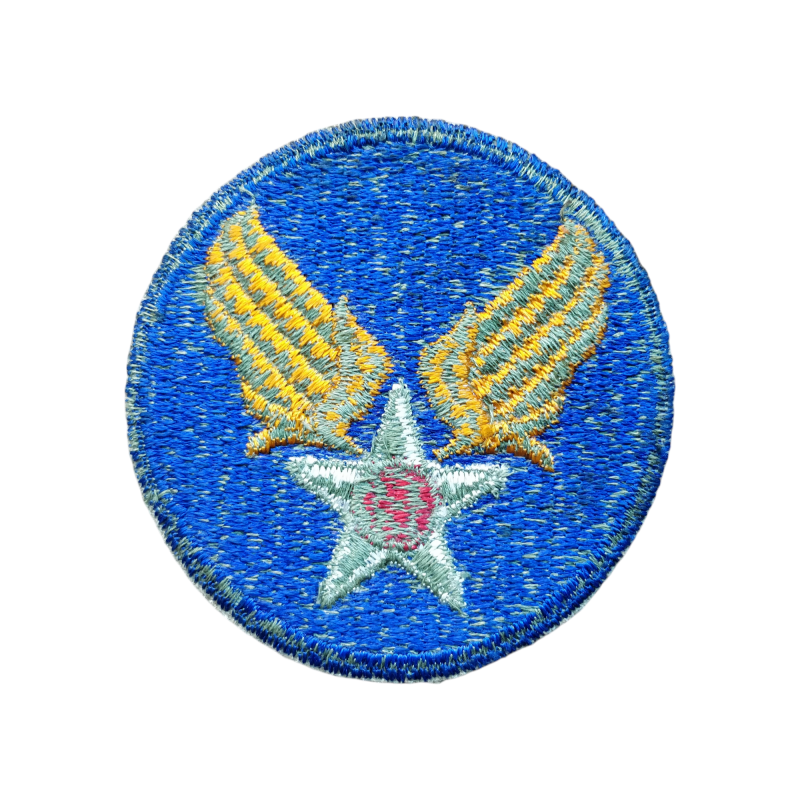
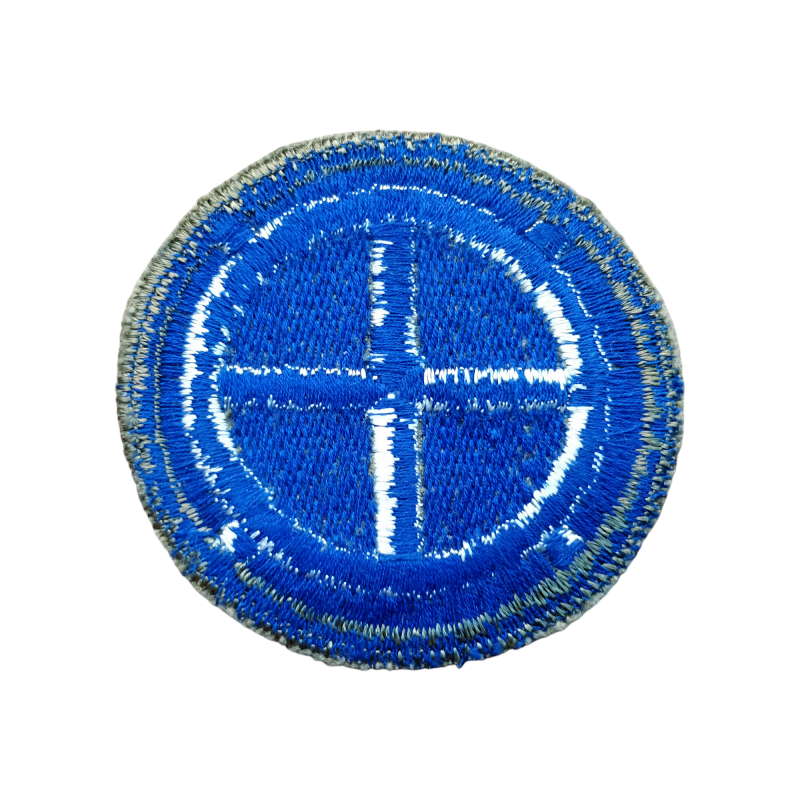
In the late 1930's you see more embroidered patches without the use of felt, these patches are the same style as the patches used during World War Two and are also the insignia we still see today. These patches were made on machines and so generally of a better quality and easier to produce in larger quantities. These patches were made on a large piece of fabric, olive green or khaki colored, which can be seen on the unfinished patch to the right.
After the patches were embroidered on these sheets of fabric, they were cut out. Because of this fabric sheet base you often see a bit of an olive or khaki border on the edges, the cutting out of patches was handwork so not every patch has the same thickness of border.
These type of patches are called 'Flat Edge' or 'Cut Edge', referring to the flat cut off borders.
During World War Two patches were made with tabs, sometimes these tabs are attached and sometimes they are loose. Because the patches were cut of the sheets of fabric there are multiple variations since the patch consists of multiple parts. Sometimes these tabs were cut loose, sometimes only the fabric between the patch and the tab was cut out and sometimes the fabric can still be seen as with the 82nd Airborne Division patch on the left.
Also common with patches is the so called bleeding of color. You often see this with darker patches like black ones. Due to washing of uniforms and patches, the ink in the thread can sometimes be diluted and bleed onto the khaki fabric and 'bleed' it to a dark blue color. You can often see this in later war and early postwar patches. However, the use of dark blue fabric as a base for the fabrication of patches is generally 1950's era.
From the mid 1930's to wartime, you see a lot of different style patches, for example felt patches, wool patches, twill/mesh patches and as said the cut edge embroidered patches. Some patch styles and examples are explained below.
During World War Two, there were also patches made from leather, these patches were mostly used on leather bomber jackets used by the US Army Air Force. Often these were unit specific but there are also versions know of divisions. These patches were often made by painting a piece of leather, printing on a piece of leather or even cutting different pieced and sewing them together like the early felt patches.

Wool Patches
Although it is believed that most wool patches are made in the late 1930's. The wool shoulder sleeve insignia were made up until around 1942. So early war for the United States. Instead of the typical fabric sheets seen with the common embroidered patches, these wool patches often have a base of wool on which the unit insignia was embroidered. In these wool patches are also variations to be found. On the back you often see some black or white mesh or only wool itself, in combination with the embroidery.

Theater Made Patches
The name already says it, theater made patches are patches that are made in theater. In other words,
non-US made patches made during or early postwar in other countries. These patches are often in a very distinctive different style than US made patches, for example the ETO patch on the right, a (British made) printed version instead of a embroidered made patch. Not only in England but patches like these were also made in France, Italy, Germany, Japan and many other countries. There are a lot of different variations and manufacturers for these theater mades.

Bullion Patches
Bullion shoulder sleeve insignia were often private purchased and made by private organisations, although there are US factory made pieces. This style of patches is in general seen as luxurious. The patches are made with an often felt backing and metallic thread to make up the insignia/decoration.
A lot of the bullion patches are theater made, often made in England during their stay there, Italy or in Germany after the war. Bullion patches are a minefield, a lot of fakes and postwar made patches are on the market. Although it is hard to see the difference between originals and fakes, they can be identified by the type of bullion thread that is used. But the best way to distinguish them is through experience.
On the right is an original early postwar German theater made 7th Army bullion patch and a closeup of an original bullion USAAF patch.
Below is a known Pakistani fake bullion with a different style thread and fabric used.
Beaded Patches
Another rare and not often seen variation of patches is the so called 'Beaded Patch', unfortunately we don't have an example of these yet, but these patches are made using beads, not just to decorate but the complete outlay, color and design of the patch is made by sewing beads in a mosaic like style. These patches are believed to be privately made, sometimes by the hands of Native Americans, an interesting style to see!
Post World War Two
After World War Two production of patches continued at first nothing changed in the process. US made patches from 1945 up until the early 1950's were very similar if not identical to the World War Two style. During the occupation of countries like Germany and Japan, postwar theater made patches were produced. Sometimes from bullion and silk, but also in the typical cut edge American style. Due to these similarities it is sometimes impossible to see whether a patch is actually made in 1944 or in 1946. In the late 1940's you see patches getting made with less backing and getting more firm, which can be indicators that the patch is an early postwar production.
Due to the production of new uniforms in the late 1950's, the patches made of these uniforms also started to change. A clear difference between the patches from the 1940's and 1950's is de color of the border. During the 1940's if patches had a border in their design, for example with the armored patches, the color of the border would be changed to a darker green color. The difference between these can be seen below.
From the late 1960's on, US patches were made with a so called 'Merrowed Edge'. This is a thick border around the patch. The problem with cut edge patches was that they tend to damage/fray. With this new merrowed edge style, patches wouldn't be able to fray so easily. These patches can easily be kept apart from the World War Two era style. The merrowed edge still is still used for the manufacturing of patches today.
Apart from the merrowed edge style that came up in the 1960's. Patches started to be made with synthetic thread like nylon and sometimes got a synthetic backing as well. If not cut off, these patches have a small piece of thread on the back, a remnant of the embroidery process. Due to the use of nylon fabrics, these patches are often more firm than the ones used during World War Two.
In the late 1960's, the US started producing green/black patches like the ones seen on the left, due to the standard dark green uniforms. These patches, and variations in sand color for dessert operations, can still be seen today.
Patch Backing
When we are talking about patches you often hear phrases like whiteback and greenback. These refer to the color of the backing of the patch. As said above, most patches are made on a khaki colored fabric as a base, apart from the insignia/patch being made on the front side, the patch is reinforced and completed on the backside. This type of embroidery can be found in multiple variations and colors.
Whiteback
Most common in patches is the so called whiteback, the patch has a white thread used for the backing. When we are looking at the backing of patches there are different densities or gradations of backing. The different densities are made by the amount of thread used. As can be seen below.
Greenback
A little less common but also often seen is the greenback variation. Greenback patches are generally referred to as early war and were made until 1943. However there are some rare occasions of greenback patches made in theater later in the war and even during the occupation era. But in general, greenback patches are early war productions.
The greenback patch has an olive like green thread backing and as with the whiteback patches, greenbacks also have different densities in how much thread is used. Some variations of this can be seen below.
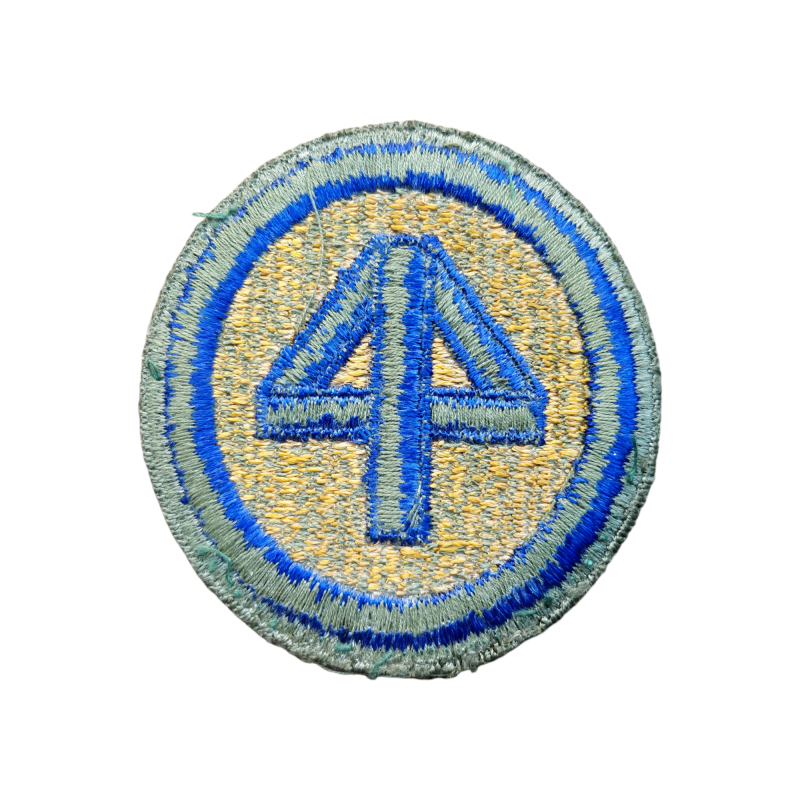
Apart from these standard greenbacks, there are also variations in how the color is divided on the back of the patch. There are greenbacks which you could call 'partial greenback', they almost look unfinished or like errors, but as with other patches, these are variations which can be found trough the vast majority of manufacturers. Some of these are depicted below. Examples of these are partial whitebacks in the base, in the unit insignia or even the use of both white and green as seen with the 4th infantry division patch.


Colored Backing
A lot less common than whitebacks and greenbacks are other color variations. Sometimes different colors were used by manufactures. For example there are blackbacks, purplebacks, bluebacks and pinkbacks. Below are some variations of these colors that can be found on patches issued during World War Two.
Mesh
Another type of backing, often seen with earlier made patches, felt patches or theater made patches, is the so called mesh backing. Mesh backed patches have a sort of gauze on the back. You often see this backing with the twill style embroidery. Twill style embroidery is a type of weave with a pattern of diagonal parallel ribs.
Types Of Stitching
When we are talking about types of stitching we mean how they are attached to the uniform. As most collectors will know, there are a lot of variations in how patches are stitched to uniforms, different types of thread, different patterns and different looks.
As can be expected, multiples types of stitching could be used on a uniform, for example a stitched patch with later added dog tag stitching or a later added hand stitched rank stripe with the already machine stitched unit insignia. As with these different types of stitching, different types of thread could be used. White, Khaki, Olive or even thread in the same color as the patch itself. Many variations and types are possible. To give a bit of an explanation on these, some forms of stitching with some examples can be seen below.
Machine Stitched Patches
Machine stitched patches are often very straight lined and 'clean' looking. These were done on sewing machines in accordance to regulation and therefore not many variaties exist. This machine stitching was often done by tailors.
Hand Stitched Patches
Hand stitched patches are easily identified because of the difference between the stitches themselves. Often with these patches, you can see different distances and angles compared to the 'clean' way machines sew. Sometimes these were done overseas in the field. Due to this being hand work, many variaties can be found in the way patches are attached to the uniform.
Cross-stitching
An interesting way to stitch patches and to make the uniform look more interesting is cross-stitching, a way in which the past is attached by stitching with little X's. These types of stitched could be made in multiple ways, close together or further apart as seen in with the patches on the right.
Victory Stitching
As with the cross-stitching, victory stitching is a way to make the uniform more appealing. Although very similar to the X's, victory stitching is done by making small V's, hence the name, V for victory.
These types of stitched could also be made in multiple ways, further apart or close together as seen in with the ETO patch on the right. Due to the stitches being very close together it almost looks like X's but as can be seen in the photographs above, they are very different. We hope to get a clearer picture of the victory stitching with further apart stitches soon.
Snap fasteners
Sometimes patches were attached to the uniform with snap fasteners. These fasteners worked both ways as seen in the pictures. This type of attachment is quite uncommon on uniforms and was most likely used to keep the patches in good condition when the uniform was cleaned.
When collecting patches you often hear the phrase 'tunic removed', the name says it already, it's a patch which has been removed from a uniform. Often these patches have remnants of stitching like the thread or little holes on the edge which indicate is has been attached to a uniform in the past.
Decoration
Apart from ways to attach patches to the uniform, there are also ways to make the patches stand out more. For example by decoration of the patch. These often can be seen in combination with various types of stitching.
Dog Tag Stitching
One way US soldiers used to decorate their uniforms was with so called dog tag stitching, They used a dog tag chain stitched around the patch, hence the name. An example of this can be seen on the right with the ETO patch.
Stitching with piping
Just like te dog tag stitching, another way to decorate patches was with piping. Piping would be stitched around the patch, usually in accordance to the branch the soldier was in.


Identifying fakes and post war patches
Identifying whether a patch is made during World War Two or postwar can be quite difficult due to the many variations that were made. Luckily there are some methods to narrow down if you have an original or a fake in hand. It is possible to use this guide to identify the style in which the patch is made. For example, as explained above, merrowed edge patches and synthetic patches are always postwar.
But in some cases it is possible to still not know if you have the real deal. Collectors often use different methods to help them with their question. Two of these examples are often discussed by collectors and explained below.
UV Test / Blacklight Test
Due to the use of nylon, a synthetic material. Postwar patches tend to light up under UV lighting, they will get a certain blue glow. This is best seen on white fabric. This is often used as an indication to identify whether a patch is original World War Two era or not. Most of the time this is a good indication, however, it is possible for World War Two patches to glow under UV light. For example, if a patch is washed with modern detergent, it lights up because of the chemicals. Like these chemicals there are different possibilities in which patches light up, that's why it is also important to look at the embroidery style, apart from only using this method.
Burn Test
Another method often used is the burn test. Due to the use of synthetic thread, collectors came up with the burn test. When holding a piece of thread to fire, wool will burn. Synthetic thread will melt. Since synthetic patches are always postwar made, this is a good indicator, but when attached to a uniform or without loose threads, it is hard to turn this method to practice.
These examples work for a first glimpse at originality, however, the best way to identify a postwar patch or a fake patch is simply from experience. The more original patches you have in hand, the better you get at identifying the difference in embroidery, color, lack of backing etc.
Our patch database
If you like to see more patches, variations and types. Or you need help identifying which patch you have in your possession. We recommend looking at our patch database. Over the years we have collected and sold many patches and we tried to put together as many variations as possible. We hope to add many more in the future.
The database consist of 1071 World War Two era patches at this moment!
The database can be found in our menu or with the link: Patch Database


